


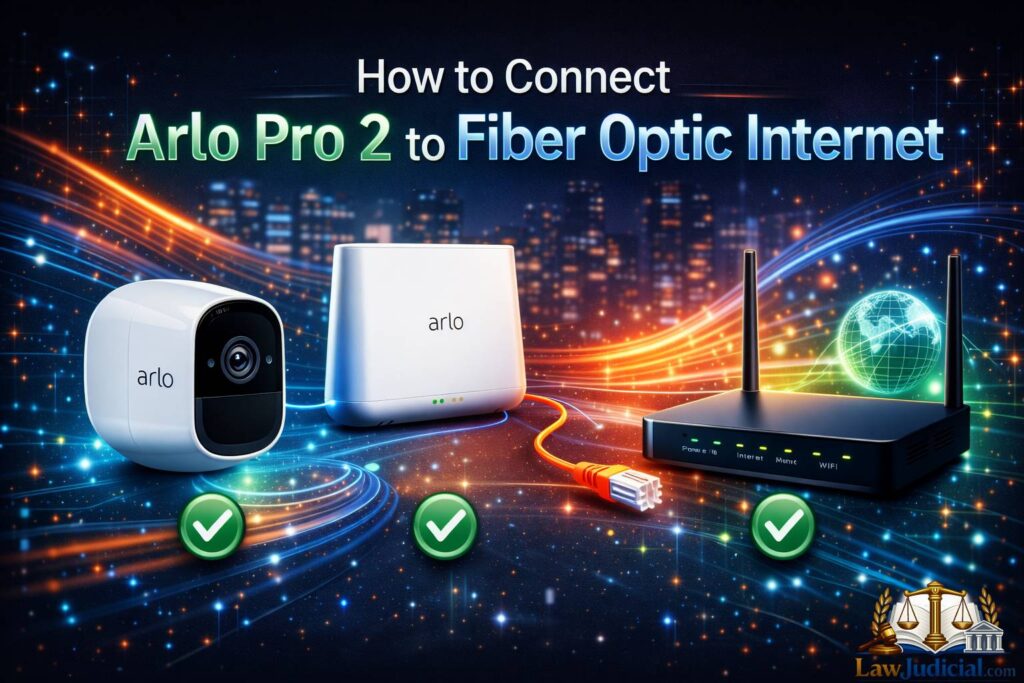


How to Connect Arlo Pro 2 to Fiber Optic Internet
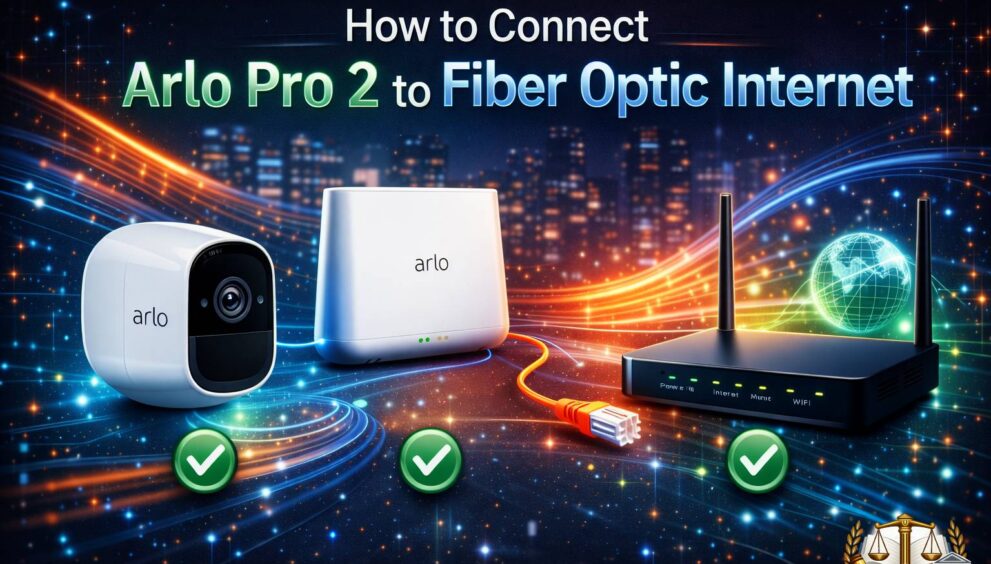
How to Connect Arlo Pro 2 to Fiber Optic Internet
Fiber optic internet has revolutionized home and business networking with its high-speed, low-latency performance. For users of the Arlo Pro 2 security camera system, leveraging fiber internet ensures smoother video streaming, faster cloud uploads, and reliable remote monitoring. Many new Arlo users are keen to understand the proper way to connect their Arlo Pro 2 to a fiber optic setup, ensuring maximum performance and uninterrupted security coverage. This guide will provide step-by-step instructions, best practices, and technical insights for developers, IT professionals, and advanced users aiming for a seamless integration.
Connecting your Arlo Pro 2 to fiber optic internet is more than just a physical setup; it involves understanding network configurations, router compatibility, and signal optimization. Unlike traditional DSL or cable connections, fiber internet offers symmetrical upload and download speeds, which significantly benefits cloud-based security systems like Arlo. By following the best practices outlined in this article, users can avoid common pitfalls, optimize network settings, and ensure their security system operates efficiently in a fiber-based environment.
This article is designed for technical users who want to maximize the potential of their Arlo Pro 2 cameras. It covers definitions, operational mechanisms, benefits, troubleshooting tips, and developer-centric insights, making it a comprehensive resource for anyone seeking a professional-level understanding of integrating Arlo Pro 2 with fiber optic internet.
What is How to Connect Arlo Pro 2 to Fiber Optic Internet?
The phrase “How to Connect Arlo Pro 2 to Fiber Optic Internet” refers to the process of configuring an Arlo Pro 2 camera system to operate seamlessly over a high-speed fiber internet connection. Unlike standard broadband connections, fiber internet uses light signals transmitted via fiber-optic cables, offering higher bandwidth and lower latency. This connectivity ensures that live video feeds, motion alerts, and cloud storage uploads occur without buffering or lag, which is critical for security monitoring.
Understanding the connection process requires familiarity with network hardware such as fiber modems, routers, and Wi-Fi extenders. Arlo Pro 2 cameras communicate primarily through Wi-Fi to their base station, which in turn connects to the internet. By ensuring that the fiber internet setup is compatible with your router and network configuration, users can achieve optimal camera performance and uninterrupted access to Arlo’s cloud features.
From a technical standpoint, integrating Arlo Pro 2 with fiber internet also involves addressing IP configuration, network security, and firewall settings. Developers and advanced users should pay attention to SSID configurations, dual-band routers, and the quality of service (QoS) settings to prioritize camera traffic. These elements collectively define the “connection” process beyond mere physical installation.
How Does How to Connect Arlo Pro 2 to Fiber Optic Internet Work?
The integration works by linking the Arlo Pro 2 base station to a router connected to a fiber optic modem. Fiber internet offers symmetrical speeds, meaning upload and download bandwidths are similar, which enhances the real-time video streaming and rapid cloud uploads of the Arlo system. The base station acts as an intermediary, managing communication between multiple cameras and the cloud, while fiber internet ensures minimal latency in these data transfers.
Technically, the connection process involves configuring the Arlo base station with your router’s network credentials, ensuring that DHCP settings or static IPs are properly applied. Developers often recommend using dual-band routers to separate IoT traffic from general internet usage, preventing video lag. Fiber internet’s high-speed capabilities allow the Arlo system to operate in high-definition modes continuously without overloading network resources.
The data flow also includes optional local storage if users have an Arlo SmartHub with USB or SD card functionality. Even in these scenarios, fiber internet improves synchronization speeds for remote monitoring, mobile alerts, and firmware updates. In essence, the connection is a combination of proper hardware installation, network configuration, and leveraging fiber optic speed advantages.
Why is How to Connect Arlo Pro 2 to Fiber Optic Internet Important?
High-speed fiber internet provides consistent bandwidth, which is essential for streaming multiple high-definition video feeds. Arlo Pro 2 cameras can operate up to 1080p resolution, and without sufficient upload speeds, live streaming and cloud storage can experience delays or dropped frames. Fiber internet eliminates these bottlenecks, ensuring reliable performance across all connected devices.
Another reason for importance is network reliability. Fiber networks are less susceptible to signal degradation, interference, or weather-related issues that often affect DSL or cable internet. For security-focused users, having an uninterrupted, stable connection is vital. A strong connection ensures timely motion alerts, instant notifications, and uninterrupted remote access through the Arlo app.
Finally, advanced users and developers benefit from the robust network management options available with fiber internet. Features such as VLAN support, QoS prioritization, and dual-band optimization allow Arlo Pro 2 traffic to receive priority on the network. This ensures that even during peak internet usage, camera performance remains consistent, a crucial factor for both residential and enterprise-grade deployments.
Best Practices for How to Connect Arlo Pro 2 to Fiber Optic Internet
First, ensure that your router is compatible with the fiber modem and supports the required Wi-Fi bands for Arlo Pro 2, typically 2.4 GHz for optimal coverage. Placing the base station near the center of your home or office and away from obstacles ensures strong signal strength to each camera. Using Wi-Fi extenders can also help in large areas.
Second, configure network settings properly. Developers recommend enabling DHCP to assign IP addresses automatically or using static IPs for the base station to reduce connection drops. Prioritize camera traffic using QoS settings, and enable UPnP or port forwarding if necessary to allow remote access. Regular firmware updates for both router and base station ensure security and performance optimization.
Third, monitor bandwidth usage and adjust video quality settings based on network capacity. Fiber internet often supports multiple high-definition streams simultaneously, but it’s wise to balance video resolution and frame rate to prevent congestion. Conduct regular network speed tests to verify upload and download performance for critical monitoring tasks.
Common Mistakes Developers Make
One common mistake is using only 5 GHz Wi-Fi for the base station connection. Arlo Pro 2 primarily relies on 2.4 GHz for extended range, and ignoring this can cause intermittent disconnects. Developers should always verify band compatibility and ensure the router’s 2.4 GHz network is active and visible.
Another mistake is neglecting firewall or NAT settings. Routers with aggressive security rules can block the Arlo base station from accessing the cloud, causing failed updates or delayed notifications. Developers must configure routers to allow Arlo traffic through specified ports while maintaining network security.
Lastly, improper placement of cameras and base stations leads to weak signals, despite having high-speed fiber internet. Even the fastest connection cannot compensate for poor Wi-Fi coverage caused by walls, metal objects, or distance. Planning device layout with Wi-Fi maps or signal strength measurements avoids this common pitfall.
Tools and Techniques
Network monitoring tools like Wireshark or PingPlotter help developers analyze connectivity and packet loss between Arlo devices and cloud servers. These tools are essential for diagnosing slow uploads or intermittent disconnects. Using these insights, users can adjust router placement, channel selection, or QoS priorities to optimize performance.
Router management interfaces provide configuration options for SSID prioritization, guest networks, and device-specific rules. Developers can assign static IPs or reserve DHCP addresses to the base station, minimizing reconnection issues. Leveraging dual-band routers also allows separation of IoT devices from high-bandwidth consumer traffic.
For larger properties, Wi-Fi extenders, mesh systems, or Powerline adapters enhance coverage. Mesh networks, in particular, allow seamless roaming for multiple Arlo cameras without drops in connectivity. Fiber internet supports these advanced setups by providing sufficient bandwidth to multiple nodes, ensuring consistent video quality across all cameras.
Step-by-Step Guide to Connecting Arlo Pro 2 to Fiber Internet
-
Connect the fiber modem to the router using an Ethernet cable. Ensure the router is powered on and configured for internet access.
-
Place the Arlo base station near the router and plug it in. Wait until it powers on and the LED indicator shows readiness.
-
Open the Arlo mobile app or web portal and select “Add Device.” Choose Arlo Pro 2 and follow on-screen prompts to connect to the 2.4 GHz network.
-
Verify that the base station receives an internet connection, and test camera feeds for live streaming. Adjust placement or network settings if necessary.
-
Enable automatic firmware updates and configure QoS settings to prioritize Arlo traffic, ensuring optimal performance over fiber internet.
This step-by-step process ensures that the system is correctly integrated with a fiber network, leveraging high-speed internet for real-time monitoring, secure cloud uploads, and reliable remote access.
Frequently Asked Questions (FAQs)
1. How to Connect Arlo Pro 2 to Fiber Optic Internet quickly and efficiently?
To connect Arlo Pro 2 to fiber optic internet, first ensure your router is compatible and supports 2.4 GHz Wi-Fi. Connect the base station to the router, configure the network settings, and use the Arlo app to add cameras. Verify connectivity and prioritize traffic using QoS.
2. Can Arlo Pro 2 work with dual-band routers on fiber internet?
Yes, Arlo Pro 2 works best on dual-band routers. Connect the base station to the 2.4 GHz band for coverage, while other devices can use 5 GHz for speed, reducing interference.
3. What should I do if cameras keep disconnecting?
Check Wi-Fi signal strength and router placement. Ensure 2.4 GHz band is active, and consider mesh networks or extenders to improve connectivity. Also verify DHCP and firewall settings.
4. Are firmware updates necessary for fiber internet performance?
Absolutely. Updating Arlo Pro 2 and router firmware ensures compatibility, fixes security vulnerabilities, and improves video streaming performance over fiber networks.
5. How can I optimize Arlo Pro 2 for high-definition streaming?
Use QoS settings to prioritize camera traffic, adjust video resolution based on bandwidth, and maintain strong Wi-Fi coverage. Fiber internet can handle multiple HD streams effectively if configured correctly.